Creating a C++ XRP Project
This tutorial details how to create a blank C++ XRP project using the command-based framework. For a more in-depth overview, please refer to the WPILib documentation.
Project Creation Steps
-
Open WPILib VS Code. If you do not have this, see the WPILib Installation Guide.
-
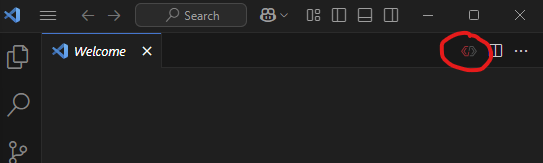
Click the WPILib icon.
- WPILib icon is in the upper-right corner.
-
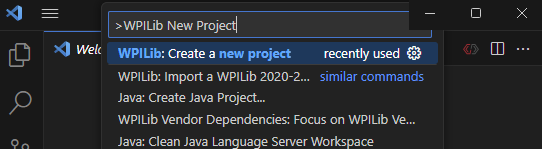
In the prompt window, type "New Project" and click "WPILib: Create a new project".
-
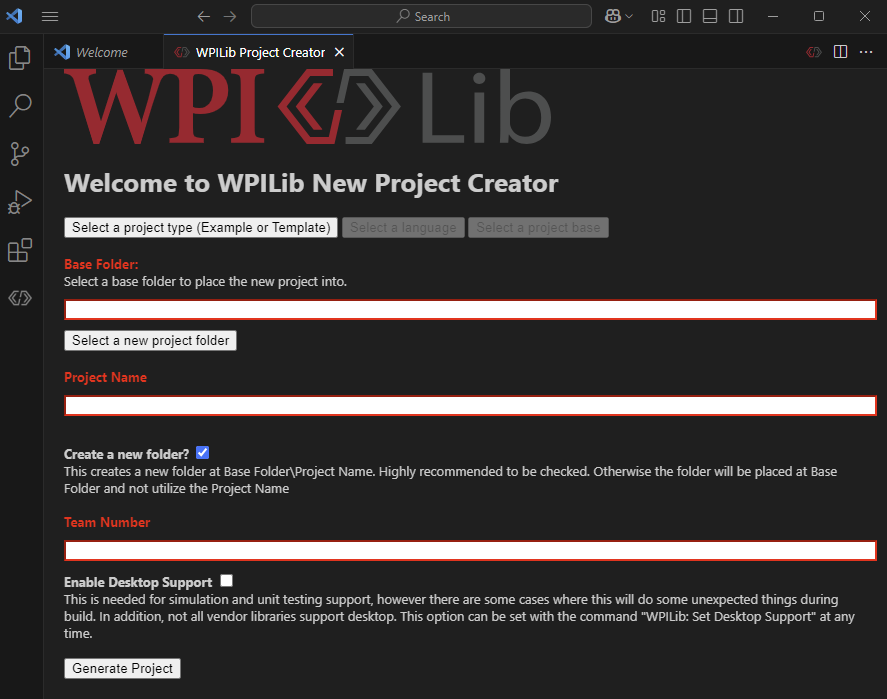
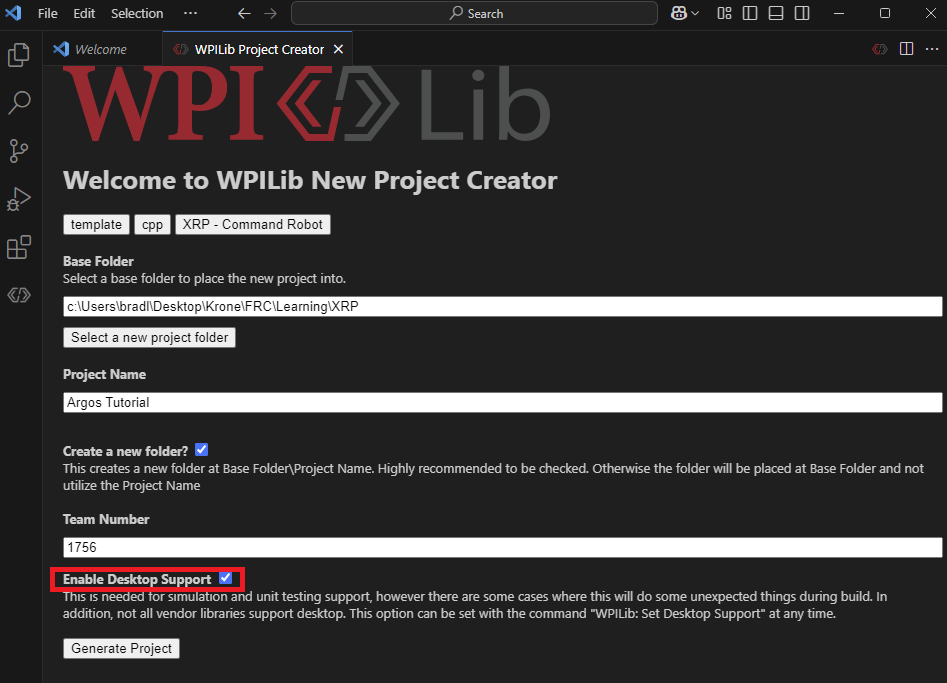
A window like this will appear:
-
Click "Select a project type (Example or Template)".
-
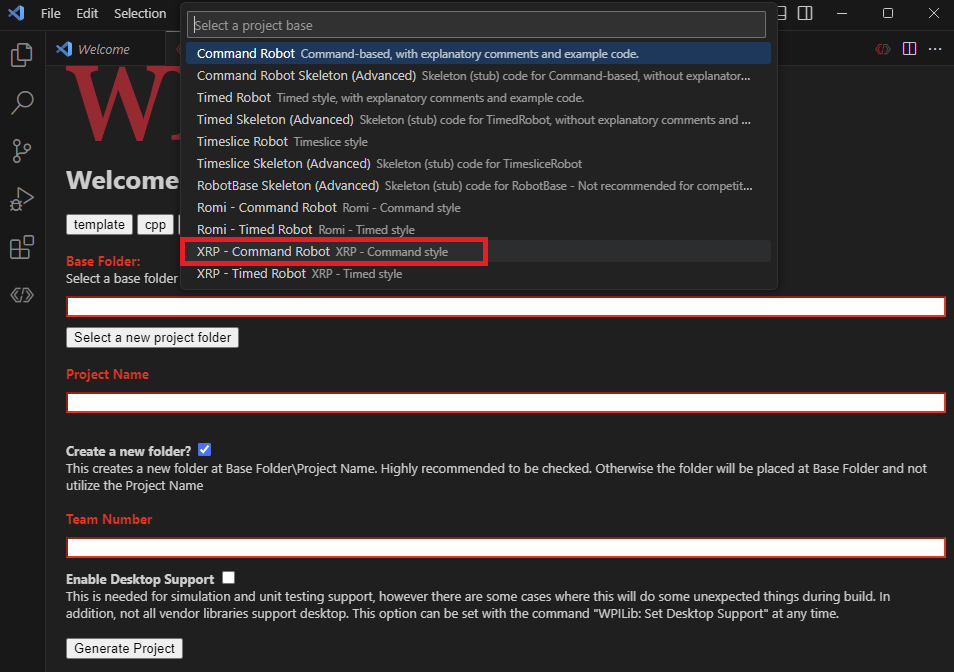
A prompt window will appear. Select "Template" -> "C++" -> "XRP - Command Robot".
-
Select a folder for your project.
-
For Project Name: Argos Tutorial.
-
For Team number: 1756.
-
⚠️ Important: Enable Desktop Support
- You must click the checkbox to Enable Desktop Support. This is critical for running the simulator.
-
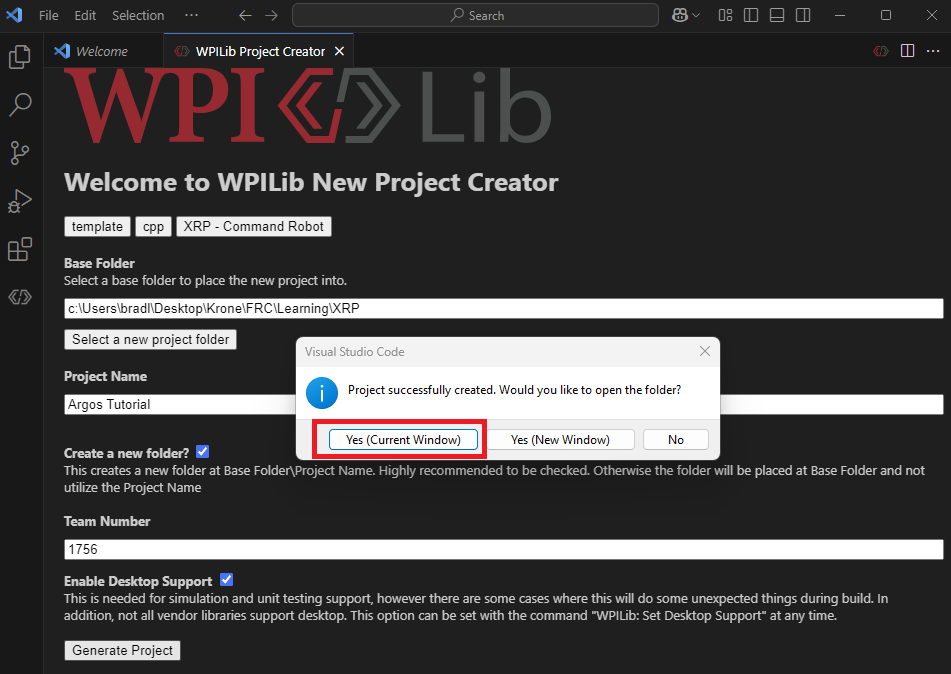
Click "Generate Project".
-
Click "Yes (Current Window)".
- This will open the project you just created.
-
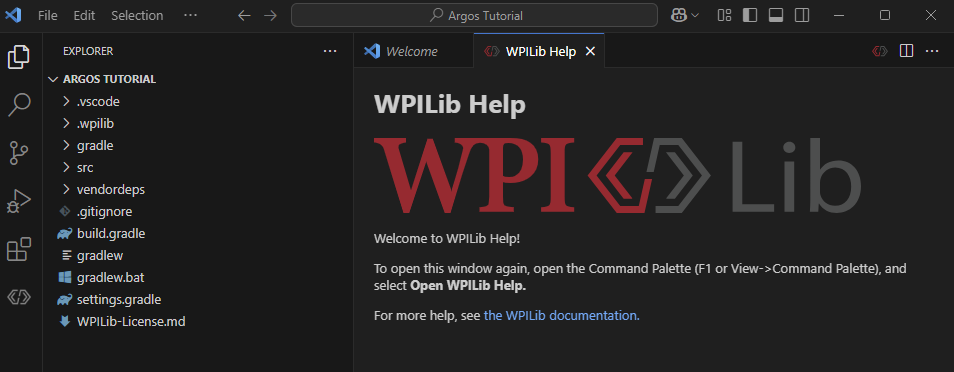
It should open a file structure that looks like this.
-
Congratulations! You have created an empty project.